Description
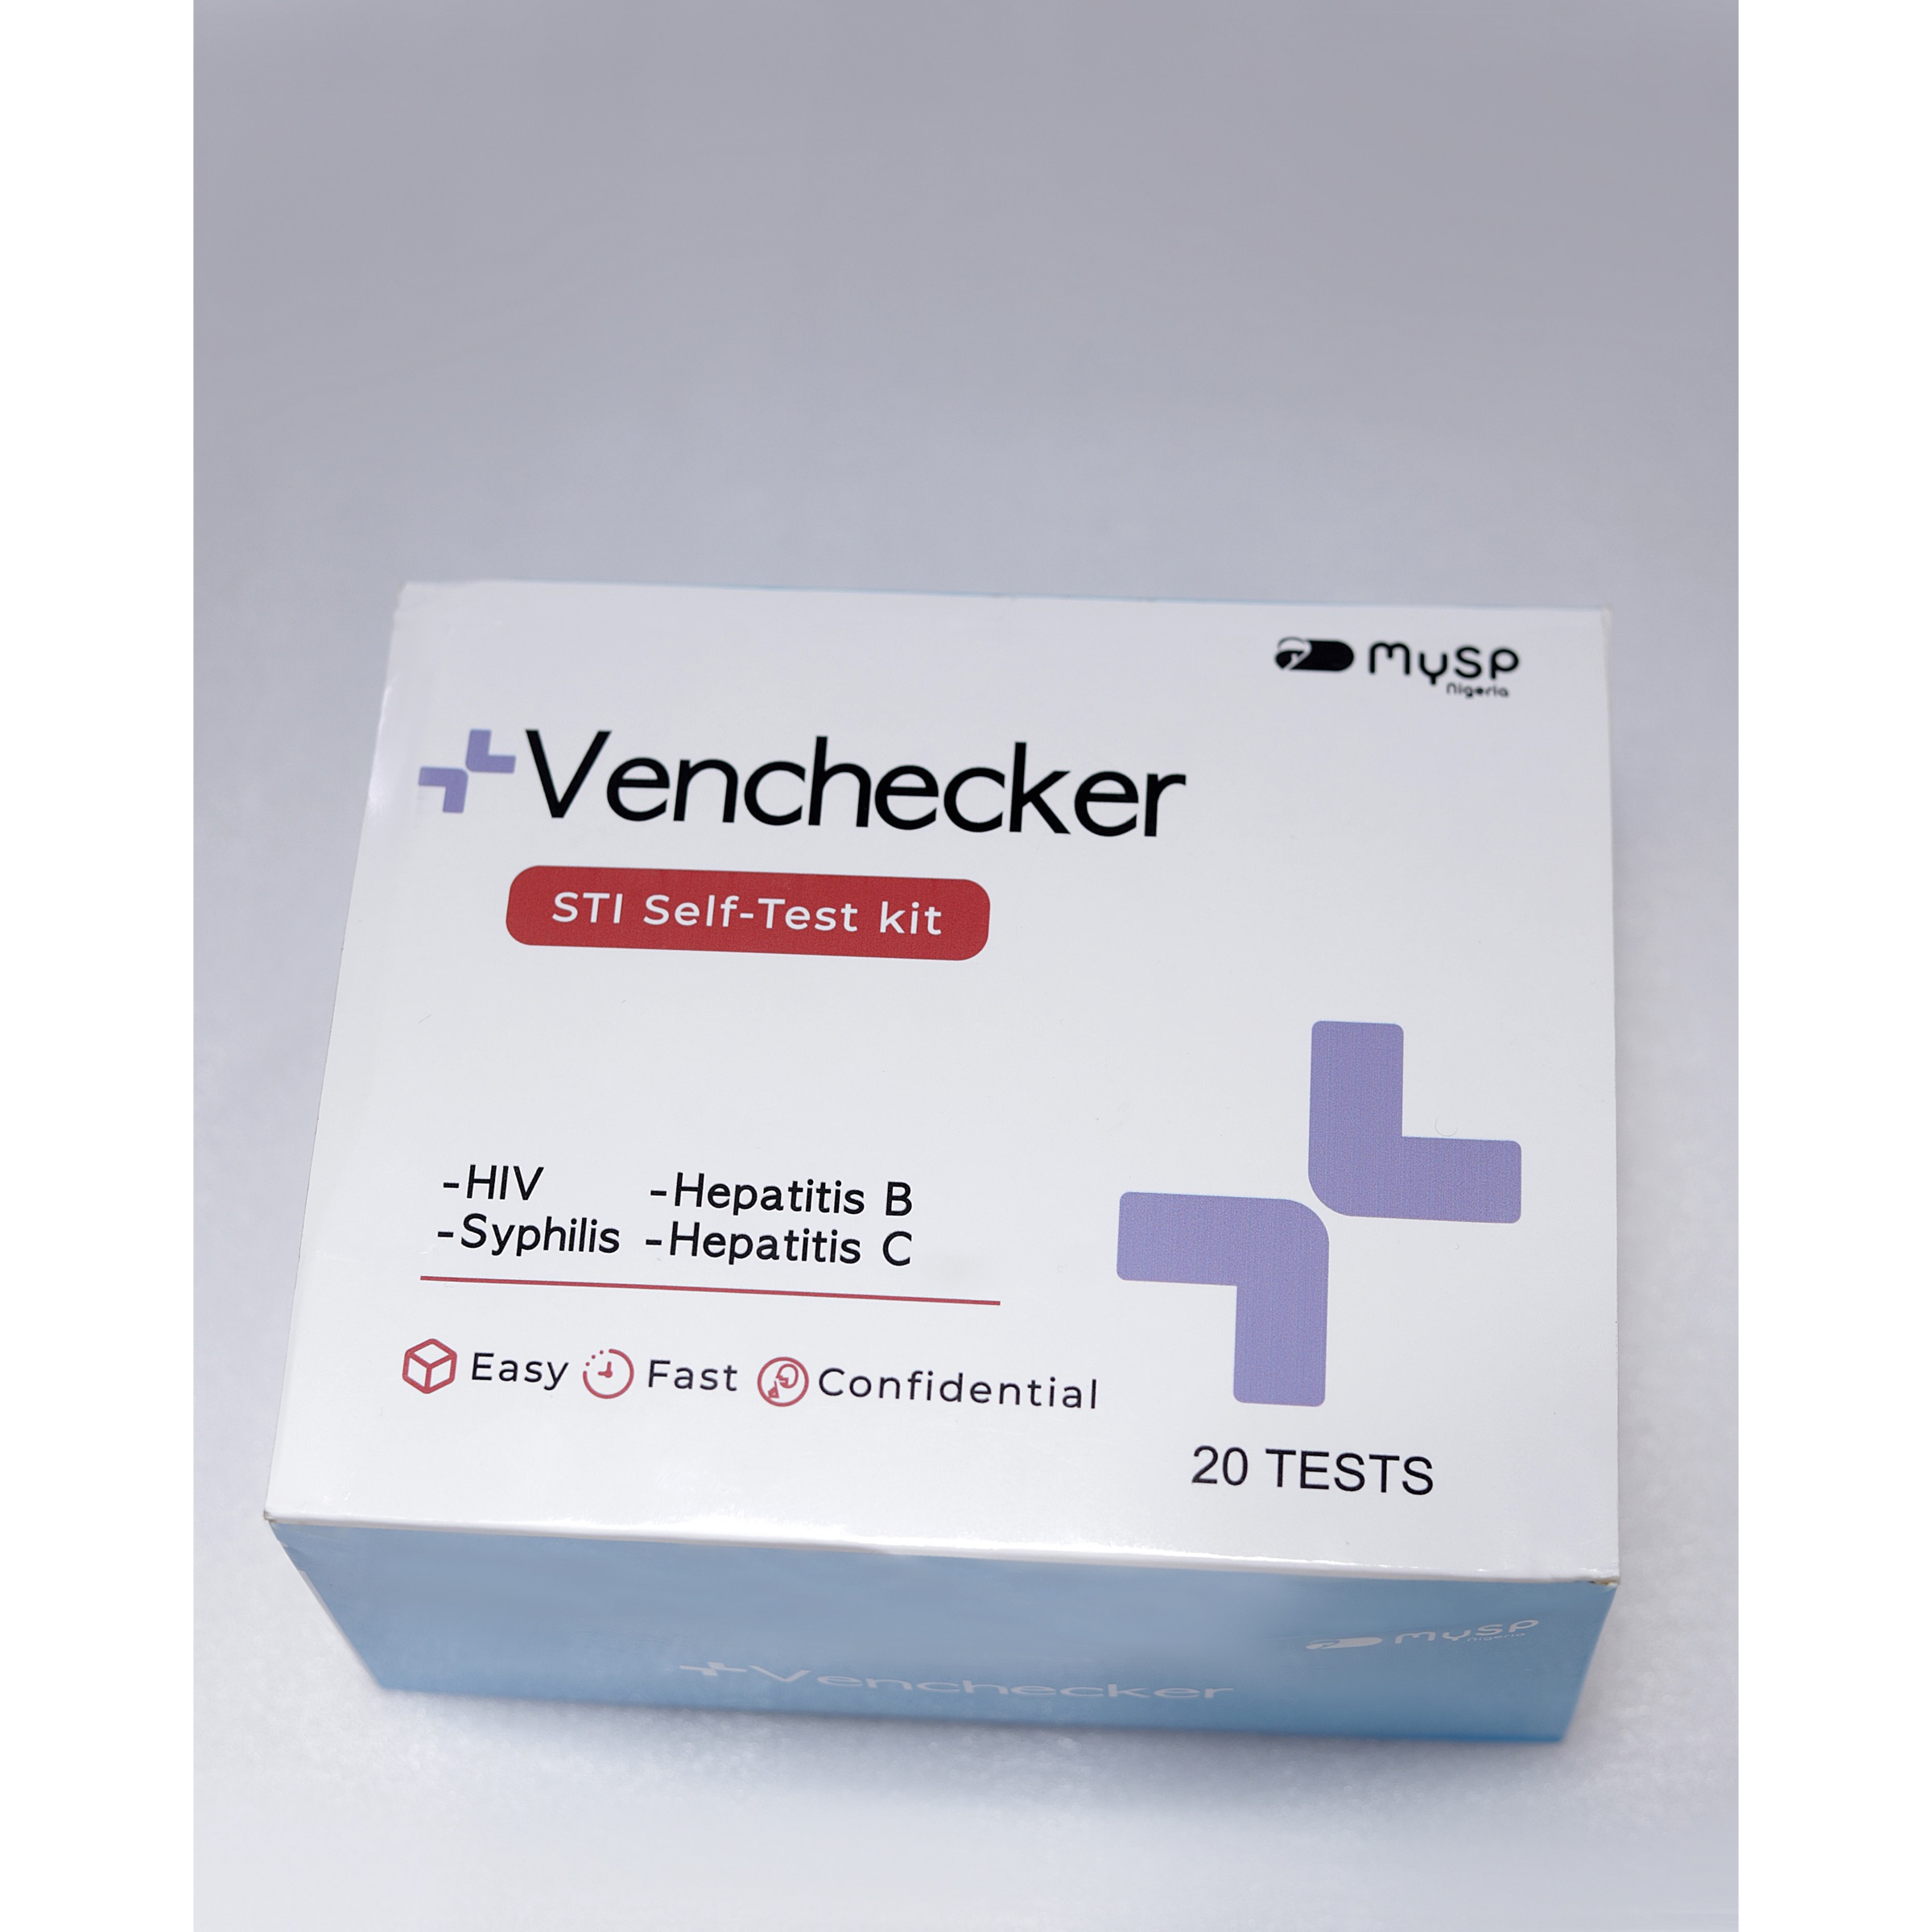
Looking for a quick, accurate, and confidential STI test? Meet Venchecker, the ultimate self-testing solution for detecting HIV, syphilis, hepatitis B, and hepatitis C. Designed for convenience and privacy, this easy-to-use STI testing kit lets you take control of your sexual health in the comfort of your home.
With just a single drop of blood, Venchecker provides accurate results for the most common sexually transmitted infections.
It’s the ideal STI screening kit for those starting a new relationship or anyone seeking peace of mind about their health.
Why Venchecker?
• Confidential and private: No clinic visits or awkward conversations.
• Fast and convenient: Perform the test at home and get results quickly.
• Recommended by professionals: A trusted choice for those seeking a first-line STI testing solution.
Take the first step toward STI prevention and peace of mind. Whether you’re looking for a self-test for STIs, want to screen for common infections, or need a tool to support your sexual health, Venchecker is here for you.
Stay informed. Stay confident. Stay safe with Venchecker.
SPECIMEN COLLECTION AND HANDLING
Drops of whole blood can be obtained by either fingertip puncture or venipuncture. Collect
blood specimen into a lavender, blue or green top collection tube (containing EDTA, citrate or
heparin, respectively, in Vacutainer®). Do not use hemolized blood for testing.
Step 1: Bring the specimen and test components to room temperature if refrigerated or frozen.
Mix the specimen well prior to assay once thawed.
Step 2: When ready to test, open the pouch at the notch and remove device. Place the test
device on a clean, flat surface.
Step 3: Be sure to label the device with specimen’s ID number.
Step 4. For Plasma or Serum specimen:
Apply 4 drops of n (about 60-90µL) into the HBsAg sample well making sure there are no
air bubbles.
Apply 2 drops of specimen (about30-45µL) into the HCV sample well making sure there are
no air bubbles. Immediately add 1 drop (about 35-50 µL) of Sample Diluent to the sample
well with the bottle positioned vertically.
Apply 1 drop of specimen (about20µL) into the HIV sample well making sure there are no
air bubbles. Immediately add 2 drops (about 60-80 µL) of Sample Diluent to the sample well
with the bottle positioned vertically.
Holding the dropper vertically, dispense 3- 4 drops (about 60- 80 µL) of specimen into the
Syphilis sample well making sure that there are no air bubbles.
For Whole blood specimen:
Apply 3 drops of n (about45-55µL) into the HBsAg sample well making sure there are no
air bubbles.Immediately add 1 drop (about 35-50 µL) of Sample Diluent to the sample well
with the bottle positioned vertically.
Apply 2 drops of specimen (about30-45µL) into the HCV sample well making sure there are
no air bubbles.Immediately add 1 drop (about 35-50 µL) of Sample Diluent to the sample
well with the bottle positioned vertically.
Apply1 drop of specimen (about20µL) into the HIV sample well making sure there are no
air bubbles.Immediately add 2 drops (about 60-80 µL) of Sample Diluent to the sample well
with the bottle positioned vertically.
Holding the dropper vertically, dispense 3- 4 drops (about 60- 80 µL) of specimen into the
Syphilis sample well making sure that there are no air bubbles.
Step 5: Set up timer.
Step 6: Read the test result in 15 minutes. Positive result could be visible as short as 1
minute.
Don’t read results after 15 minutes. To avoid confusion, discard the test device after
interpreting the result
INTERPRETATION OF ASSAY RESULT
1. For HBsAg Test
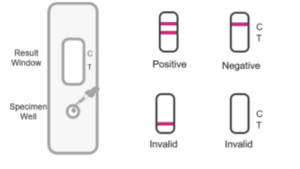
Positive: Two purple bands appearing at both test line (T) and control line (C) indicates
positive result.
Negative: Only one color band appearing at the control line (C) , indicates negative result.
Invalid: No purple band at the control line (C) indicates incorrect assay process or failure
of the kit. Read this instruction carefully and repeat test with a new device. If the
problem persists, you should immediately stop using the kit with the same LOT
No. and contact your local supplier.
2. For HCV Ab Test
Positive: Two purple bands appearing at both test line (T) and control line (C) indicates
positive result.
Negative: Only one color band appearing at the control line (C) , indicates negative result.
Invalid: No purple band at the control line (C) indicates incorrect assay process or failure
of the kit. Read this instruction carefully and repeat test with a new device. If the
problem persists, you should immediately stop using the kit with the same LOT
No. and contact your local supplier.
3. For HIV Ab Test
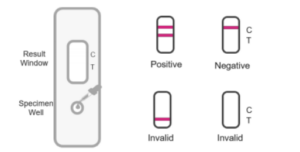
Negative: If only the C line is developed, the test indicates no antibodies to HIV are
present in the specimen. The result is no reactive or negative.
Positive: Two distinct red lines appear. One line should be in the control region (C) and
another line should be in the test region (T)
Samples with reactive results should be confirmed with alternative testing method(s) such as
PCR or ELISA and clinical findings before a final diagnostic decision is made.
Invalid: No purple band at the control line (C) indicates incorrect assay process or failure
of the kit. Read this instruction carefully and repeat test with a new device. If the
problem persists, you should immediately stop using the kit with the same LOT
No. and contact your local supplier

4. For Syphilis Test
Positive: Two purple bands appearing at both test line (T) and control line (C) indicates
positive result.
Negative: Only one-color band appearing at the control line (C), indicates negative result.
Invalid: No purple band at the control line (C) indicates incorrect assay process or failure of
the kit. Read this instruction carefully and repeat test with a new device. If the problem persists,
you should immediately stop using the kit with the same LOT No. and contact your local

If you wish to chat with a medical expert in private kindly use the telegram link below:
https://t.me/myspnigeriaconsultant

